Set Suricata Settings
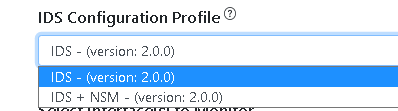
When the Hosts verification check passes, you will move to the IDS settings page, first you will need to select a Configuration Profile that best fit your IDS deployment.
Note
Configuration Profiles are pre-tested collections of Suricata settings that configure suricata to operate in a certain way, you can read about the currently available configuration profiles in IDSTower here.
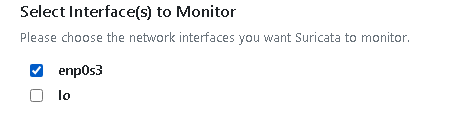
Then, you need to select the NIC port(s) for the Suricata IDS to monitor.
Note
incase you are deploying to hosts with asymmetrical NIC interfaces alignment/setup/naming, IDSTower will give you the option to choose which NIC interface to monitor per host.
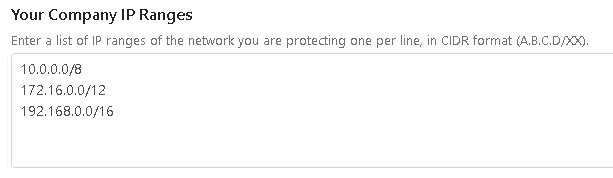
Next, set your company/network IP ranges, one per line, in CIDR format (eg: 10.0.0.0/8), this will help you IDS perform better and will give your rules a better context on where to look for attacks (egress/ingress) which can reduce false positives.
Note
This option will set the HOME_NET variable in Suricata IDS suricata.yaml.
Once everything is selected, click on “Next”.