Creating The AWS credentials
In this guide we will create the needed AWS Credentials for IDSTower to export Rules & IOCs to your AWS Network Firewall.
Creating the Credentials Access Policy
Login to your AWS IAM Console.
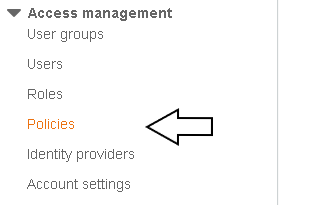
Under Access Management, click on “Policies”.
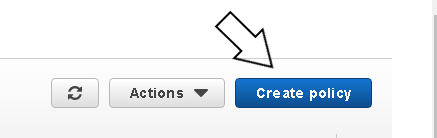
Then, click on “Create Policy”.
After that, click on the JSON tap and paste and the replace what is in the text box with the below policy definition.
{
    "Version": "2012-10-17",
    "Statement": [
        {
            "Sid": "VisualEditor0",
            "Effect": "Allow",
            "Action": [
                "network-firewall:DescribeRuleGroup",
                "network-firewall:DeleteRuleGroup",
                "network-firewall:CreateRuleGroup",
                "network-firewall:TagResource",
                "network-firewall:DescribeRuleGroupMetadata",
                "network-firewall:UpdateRuleGroup",
                "network-firewall:UntagResource"
            ],
            "Resource": [
                "arn:aws:network-firewall:*:*:stateful-rulegroup/IDSTower-*",
                "arn:aws:network-firewall:*:*:stateless-rulegroup/IDSTower-*"
            ]
        },
        {
            "Sid": "VisualEditor1",
            "Effect": "Allow",
            "Action": "network-firewall:ListRuleGroups",
            "Resource": "*"
        }
    ]
}
Note
The above policy will limit the credentials access to only the resources under the aws network firewall rule groups that starts with the “IDSTower_” prefix, all resources created by the AWS Connector will have this prefix.
Click on “Next: Tags”, and add any tags you need to add (optional).
Click on “Next: Review”, and add a name (eg: IDSTower) & description (optional) to the policy.
Click on “Create policy”.
The Policy should have been created successfully by now.
Creating the Credentials
Now that we have created the needed IAM policy, we will proceed to create the credentials.
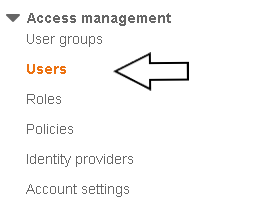
Under Access Management, click on “Users”.
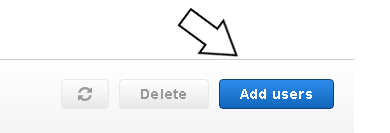
Click on “Add users”
Choose a username, eg: idstower_aws_export, and under “Select AWS access type” check “Access key - Programmatic access”.
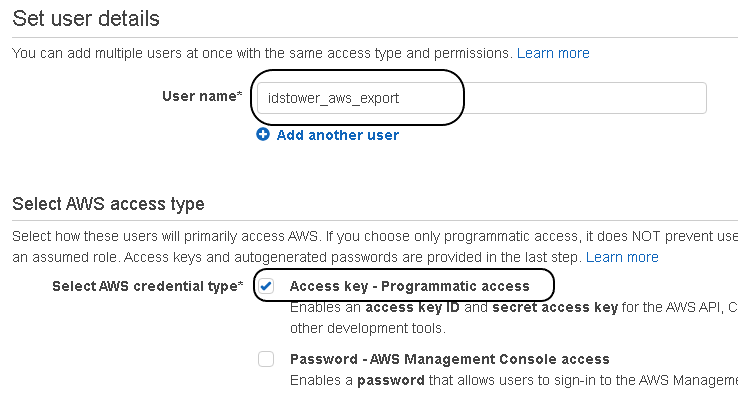
Click on “Next: Permissions”
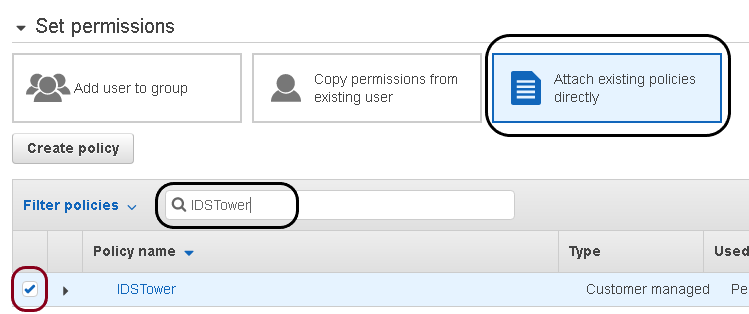
Click on “Attach existing policies directly”
Search for the IDSTower Policy that we created previously, and click the check beside it.
Click on “Next: Tags”, and add any tags you want (optional).
Click on “Next: Review”, and review the details.
Click on “Create user”.
The user should have been created successfully by now, copy the username, Access Key ID & The Secret access key to a save place as we will need them in the next steps.
In the previous steps, we have created the credentials needed for IDSTower to access the AWS Network Firewall and publish the IDS Rules, we also created a policy for that user that describe the access rights and permissions for the exports to work correctly.
Next, we will add those credentials to IDSTower and proceed to create our export.